
Submitted by Jillian on Mon, 08/19/2013 - 8:06pm
.jpg&description=Dino%20Memory%20Game%20%7C%20Kingsburg%20Orchards)
Every family has their own traditions, including the types of games they play. Family gatherings for my family have always included games - typically an active game before dinner (basketball, football, volleyball, frisbee, etc.) and then games you can visit over after dinner, during dessert. One side of my family has coffee and plays cards - Hearts, Dummy Rummy, Hands & Feet, the list goes on - and the other loves board games or word games with a side of peach cobbler - Catch Phrase, Boggle, Acquire, Apples to Apples, and the like.
One of the games I remember playing often as a child was Memory. My cousins and I would spread out the tiles across the carpet in my Grandma's living room - flipping, shuffling, and matching them up while our parents and grandparents visited with each other in the kitchen. It was a game that anyone could play - so long as they were old enough to know not to chew on the cardboard tiles. The rules: Spread out all the cards so the blank side faced up, shuffle them a bit, then take turns flipping over 2 cards. If they matched, you got to keep them and go again, if not, you flipped them back over and it was the next person's turn. The person with the most pairs of tiles at the end won that round.
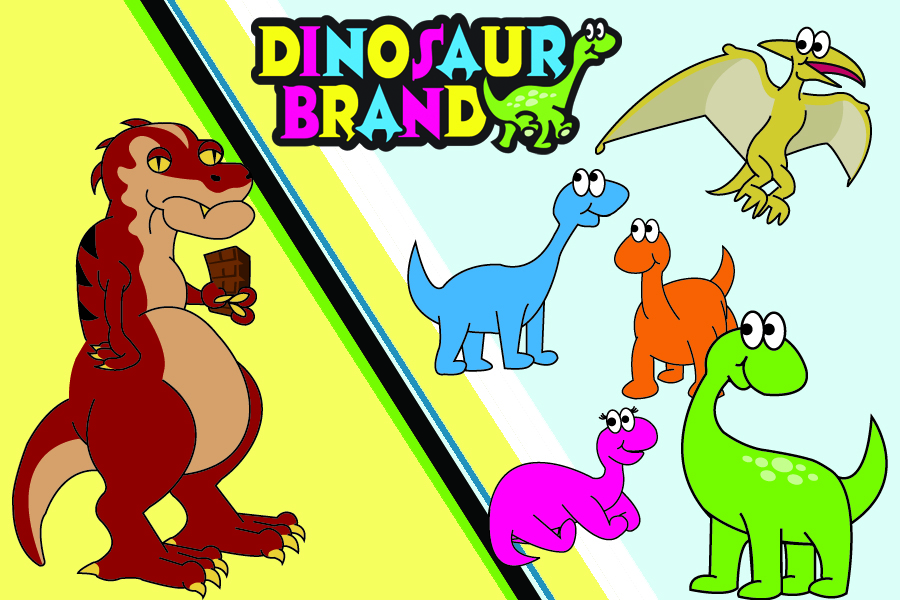
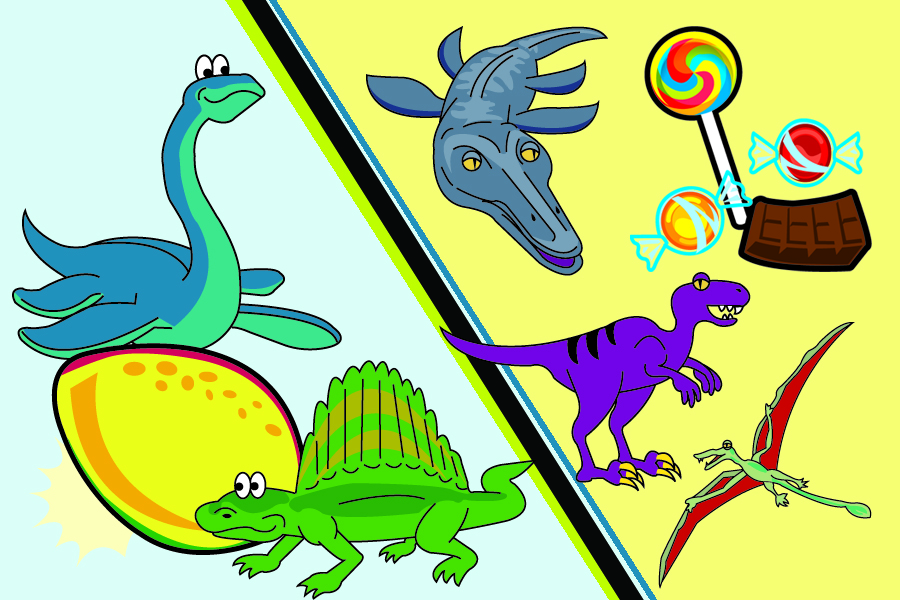
In the spirit of spending time doing hands-on projects with your kids, and getting their minds ready to focus as they head back to school in the next month or two, I've prepared a make-your-own memory game. All you need is some scrap cardboard (such as a cereal box), a glue stick, a pair of scissors, and a printed copy of one or more of the themed tiles you can download here in PDF:
 |
|
 |
To Download these Characters
|
 |
To Download these Logos |
.jpg)
Step 1: Prep the materials. Print the tiles and cut open the cereal box so that it is flat.
Step 2: Have your child cover the back side of the printout with glue using a glue stick. It is important to make sure it covers the whole page as you will be cutting it and the edges of each tile needs to stick to the cardboard.
Step 3: Place the page glue side down onto the printed side of the cardboard.
Step 4: Smooth the paper using your hands or gently with a ruler to remove any air bubbles and secure it to the cardboard.
Step 5: Depending on the age of your child, decide who will do this step. Cut the tiles along the dotted lines.
Step 6: Check the edges of each tile to make sure the paper is attached. Add glue to those that need it.
Step 7: Show them how to play!